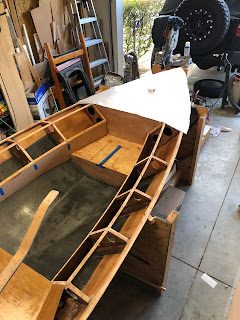
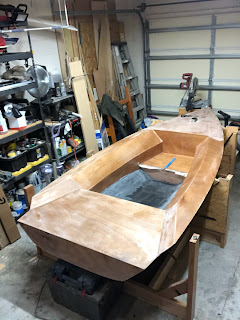
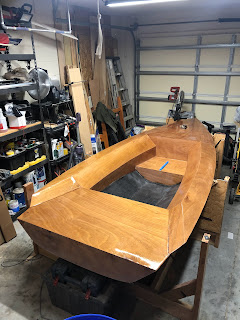
Deck complete, the boat was structurally very stable and finally ready to be removed from the framing fixture. I put the beginnings of this boat in the fixture back in December 2016! After removing the screws, the first exciting task was to get an accurate weight. Up to this point I had an estimate based on the weight of what I was putting into the boat. It came out to 52.3 lbs. This is about what I think is expected for a Mistral at this stage in the game. Lots of hardware and work to do still so I am not too concerned about how to get to the 75 lb. class weight minimum. Before getting started on the bottom, I took some progress pictures:
Back in the garage, it was time to fair and finish the bottom with glass cloth. The first step was to add material and fair the bow. I intentionally cut the bow off and added a skeleton piece of plywood to build up the volume of the bow at the waterline.
After putty application
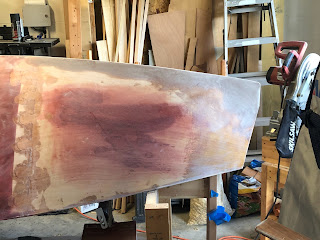
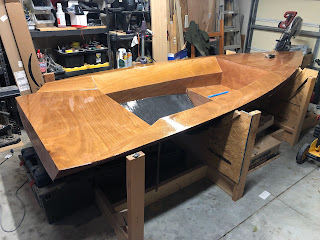
Port side after fairing
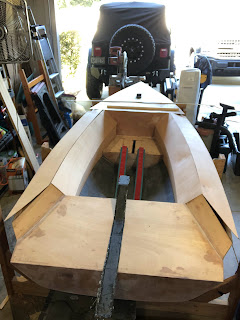
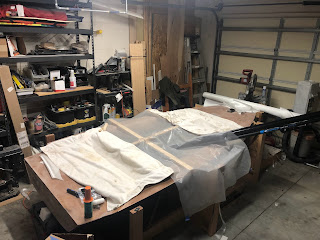
The next step was to glass the hull. I put a layer of 8 oz. cloth on each side with a 4 inch overlap along the keel.
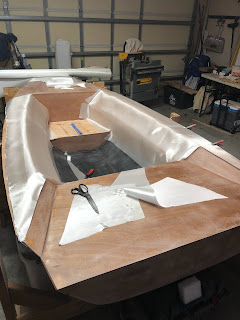
dry fit and trimming of glass cloth
view from the aft end of the boat
After wetting out the cloth
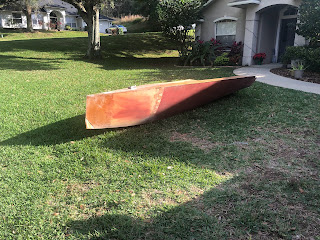
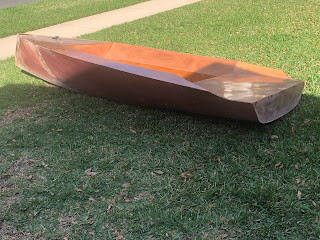
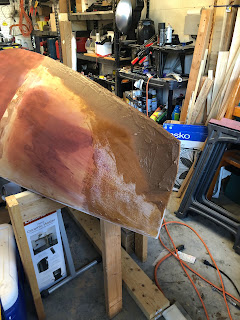
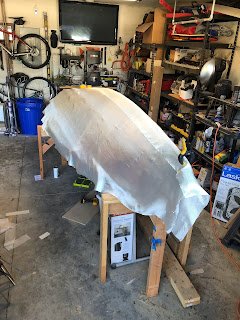
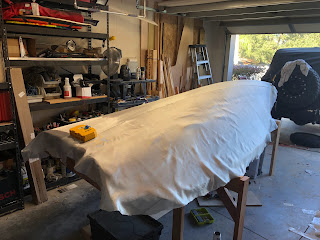
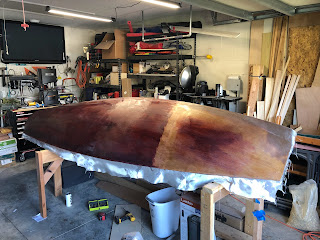
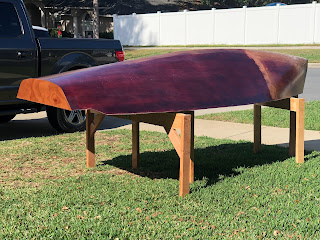
After glassing the boat bottom, I faired the hull along the glass cloth overlap edges and put a couple more coats of epoxy over that to build up and smooth out the bottom. Taking advantage of a warm, sunny day, I put the boat outside to finish curing. I intentionally didn't put the UV stain on the front of the boat. The assumption was that it was going to get a bunch of fairing compound added and would require paint. Maybe not the best decision in hindsight, but it is what it is. I will paint the front when I'm done adding epoxy and fairing the bottom. The mahogany stain is a really deep red. Looks like a glass of cabernet. Thankfully I still had some of the alcohol based stain and was able to touch up in places where sanding was needed.
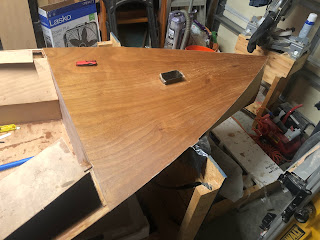
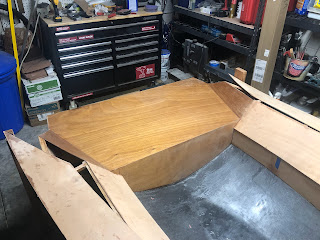
The next area of focus is on the blades. I picked up a piece of alder wood for this task. This species is strong and light. I laminated 1" strips of the wood with each adjacent piece rotated and flipped 180 degrees to ensure the boards don't bow later down the road. The daggerboard is 5'-6 at the moment, but this will probably get trimmed down.