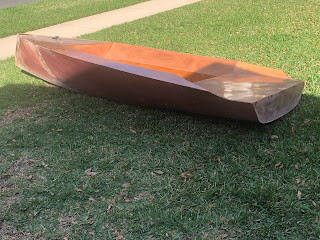
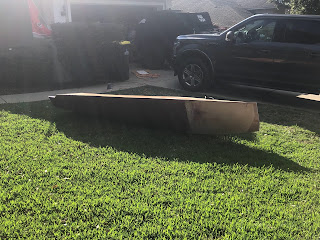
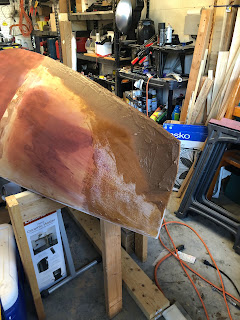
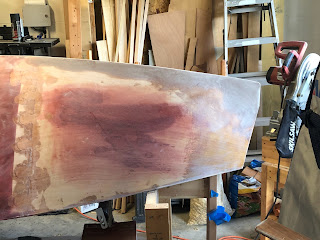
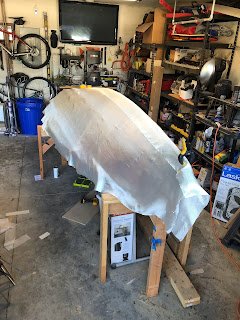
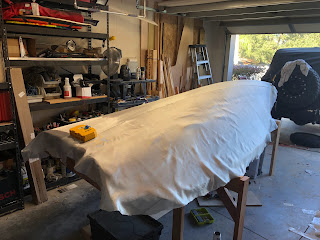
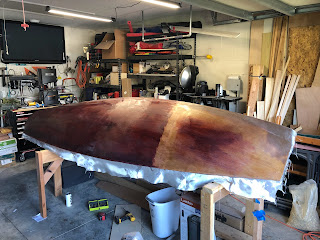
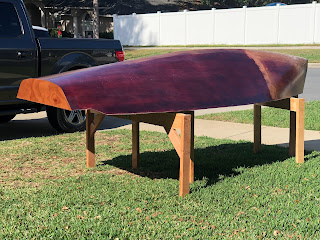
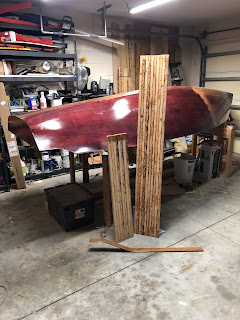
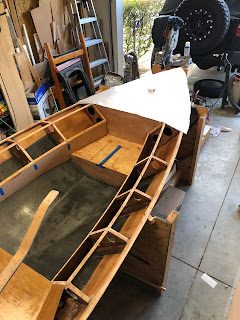
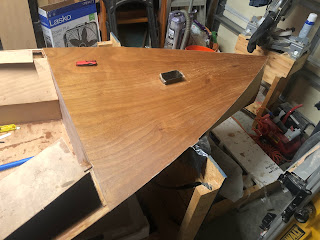
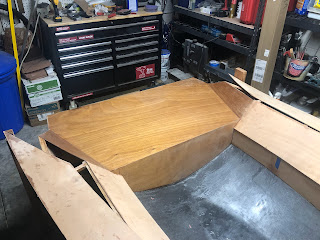
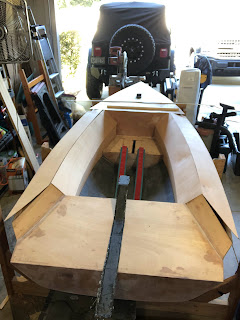
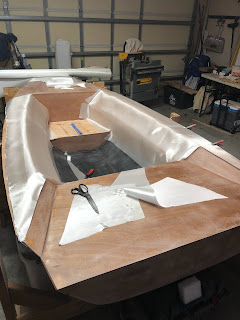
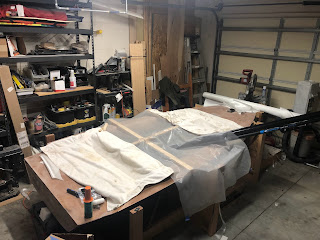
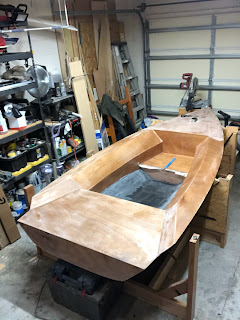
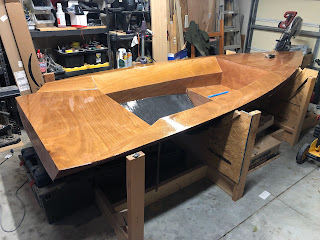
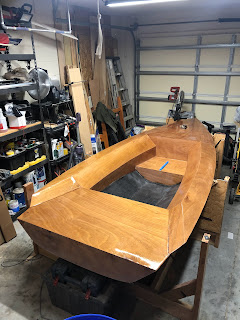
Deck complete, the boat was structurally very stable and finally ready to be removed from the framing fixture. I put the beginnings of this boat in the fixture back in December 2016! After removing the screws, the first exciting task was to get an accurate weight. Up to this point I had an estimate based on the weight of what I was putting into the boat. It came out to 52.3 lbs. This is about what I think is expected for a Mistral at this stage in the game. Lots of hardware and work to do still so I am not too concerned about how to get to the 75 lb. class weight minimum. Before getting started on the bottom, I took some progress pictures:
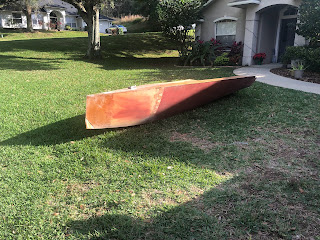
19.1.22
Fixture freedom
Button up the deck
1.8.21
Adding some bones to the boat
I got this really cool rook pattern carbon fiber on closeout and wanted to use it somewhere. I figured the floor of the cockpit would be a good place. It's an area of the boat that needs to be tough and a location that I can show it off without taking too much away from beautiful wood grain of the plywood. I put down the carbon fiber and a layer of 4 oz glass over the top.
The green tape is locating the inside location of those gunwale tank bulkheads. The next step was gluing in those bulkheads.
After shaving down each side to a tight fit, I glued and clamped them in.
Production resumes
Forgive me Blogger, for I have sinned. It has been 5 years since my last post...
After finishing a masters degree, a bathroom remodel and then a kitchen remodel, I found that I had some extra time and some additional construction confidence. With some renewed interest in finishing the boat project and making some extra garage space, I dusted off the clamps and wood planes and got back at it.
When I left off in 2016, here's where she stood:
29.1.16
Foundation
Next I added another healthy stack of material over that to stiffen and distribute the load from the mast base.
Next up was the remaining bulkheads. This would include the aft centerboard trunk bulkhead and the aft cockpit bulkhead. I'm really happy with the shape of the boat with the temporary bulkheads in and I'm pretty sure the boat is off script from the initial design. I pulled the shape from inside of the hull using a jig I made and 1.5" strips of plywood that slid down the slot in the top. I then transferred the shape to some construction paper for the bulkhead pattern. It worked great!
Transferred to the pattern material:
Reminds me of a calculus class. Area under the curve, anybody? Nerdy engineering moment there. If you know what I'm talking about feel free to comment. This process was repeated for the remaining bulkhead locations. I cut out and glued in these bulkheads. The cockpit geometry is starting emerge now. I like it.
Next up I glued in .750 x .500 rails around the perimeter of the bulkheads where the deck will attach. This added structure and gives me a surface to bond the deck too.
All clamped up:
To increase the stiffness of the transom where the rudder will eventually attach, I added a composite laminate to that area. I did the same at the bottom of the aft cockpit bulkhead where the hiking straps will bolt in too.
15.1.16
Back in black
First up was the mast tube. I like the rocking mast tube concept that we did on the Rodger Wedges so I will do that again. While other boats in the fleet selected to go with a slot shape for the top of the tube, I was concerned that building the mold for this shape would probably frustrate me. Additionally, I would like to support the tube along the forward surface internally, This is difficult when it's cylindrical and only makes contact at the tangent point. I went with a square cross section with 1/2 inch fillets on the edges. The mold was easy to build and the part popped out nicely. I have a plan for ensuring that the tube doesn't point load the mast when rocked all the way forward and aft, but we'll go into that detail later.
Here's the mold made with MDF.
I wrapped it with release film and layered on the cloth. Here's the stackup I used:
0/90 3 oz glass
0/90 carbon
30/60 carbon
-30/-60 carbon
0/90 carbon
0/90 3 oz. glass
It came out right at the anticipated .090 thickness. Yay math! Stay in school, kids.
After I wrapped it, I added another layer of release film and then clamped it up. I probably should have bagged it, but it didn't seem necessary for this part at the time.
12.1.16
The boat's first trip and the advent of real progress
After finishing up the house remodel enough to live in the house, I was ready to start working on the boat again. It's getting cold in most of the country, but not here. It's still a lovely 87 degrees as my neighbors start putting their Christmas decorations up in this post Thanksgiving weekend.
At this point the boat needs some real structure. I built a couple forms for the holding fixture and secured the hull to these. I also leveled the fixture in location. It won't move again until the inside of the boat is complete. The first step on the inside of the boat would be to put the rails on the gunwales. Bring on the bucket-o-clamps - you will be busy for the next month.
Rails cured, I put two temporary bulkheads in and screwed them to the holding fixture. Next step was to start cutting and gluing in some real bulkheads. If you're comparing this image to what you think a Mistral looks like, spoiler alert, they aren't the same, and yes, the bow is swept aft. I spent some time working on a bow that removed a portion of that massive amount of volume. Since the Mistral design is near impossible to pitchpole, I think I have some wiggle room in this aspect of the design.
The other massive deviation from the Mistral design is the transom. I am moving away from the parabolic or elliptical shape that had been previously employed. It kinda looks like the old Rogers Wedge transom. I built a fixture to help ensure symmetry and help ensure that there's a fair transition into the rest of the hull. It worked well.
More bulkheads please...
Here's the dry fit.
And then glued and glassed in place..
The transom was next...
Finally, I intentionally hacked off the bow where the stem and keel meet. I really was looking for a shape right at the bow entry that was a bit fuller and didn't have the concavity. The Mistral design has the bow just barely kissing the water while sailing. Hell, on the Mousetrap, you had to work to make the boat sail with the stem in the water. I don't think I'm going to have a problem piercing the water with this design so I think this area of the boat required additional attention. So after cutting off a diagonal section of the hull, I went back and filled it in with some pre-shaped plywood pieces. Here's the first one going into place.